- Joined
- Jan 18, 2010
- Messages
- 15,914
- Reaction score
- 8,921
- Points
- 453
- Location
- Residing in Wicklow Ireland
- Printer Model
- Canon/3D, CR-10, CR-10S, KP-3
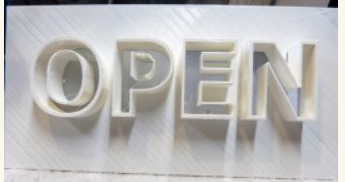
I started off by making the lettering that I needed and made them hollow (outlined)
See here.. STL files The lettering, the Top covers and electrical box..


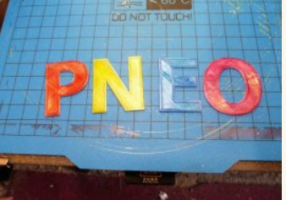
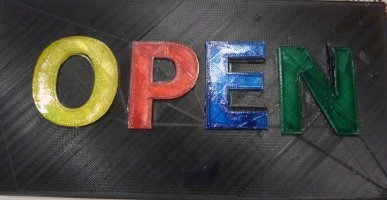
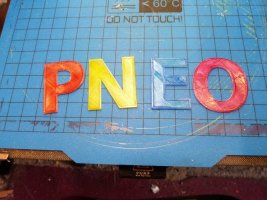
The next step was to only use the very top of the lettering to fill in the top after printing. (1.5mm thick), I used pigment ink to colour the transparent filament and used the hotbed to help dry it.. I applied the ink with my fingers..
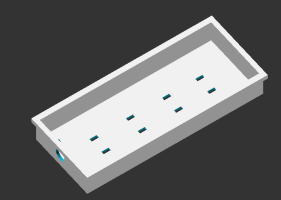
Then I needed a box on the back to install and support the LED lighting.
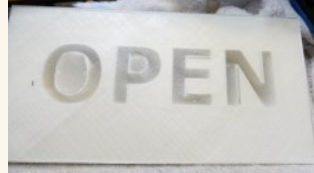
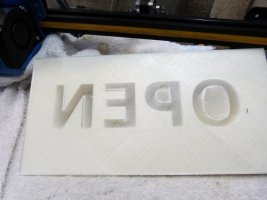
This is how it turned out, starting with transparent filament then changing to white for the upright wall of the lettering..

Here is the back of the print before fitting the LED box. Note the transparent filament for the lettering..
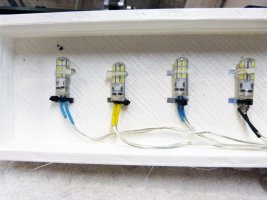
Here’s the light box with the bulbs held in with cable ties..
I used ordinary wood glue to stick the whole thing together..
And This is it now working.. !

Remarks:- The LED bulbs were a bit big and bright and the white base should have been thicker or made in a different colour, but overall this experiment was a success in that I now know it can be done and look much better with more care and attention to detail..
See here.. STL files The lettering, the Top covers and electrical box..


The next step was to only use the very top of the lettering to fill in the top after printing. (1.5mm thick), I used pigment ink to colour the transparent filament and used the hotbed to help dry it.. I applied the ink with my fingers..
Then I needed a box on the back to install and support the LED lighting.
This is how it turned out, starting with transparent filament then changing to white for the upright wall of the lettering..


Here is the back of the print before fitting the LED box. Note the transparent filament for the lettering..

Here’s the light box with the bulbs held in with cable ties..

I used ordinary wood glue to stick the whole thing together..
And This is it now working.. !

Remarks:- The LED bulbs were a bit big and bright and the white base should have been thicker or made in a different colour, but overall this experiment was a success in that I now know it can be done and look much better with more care and attention to detail..


